Here is the step-by-step guide to connecting your FluentSMTP with your Google WorkSpace Email or Gmail.
Let’s start!
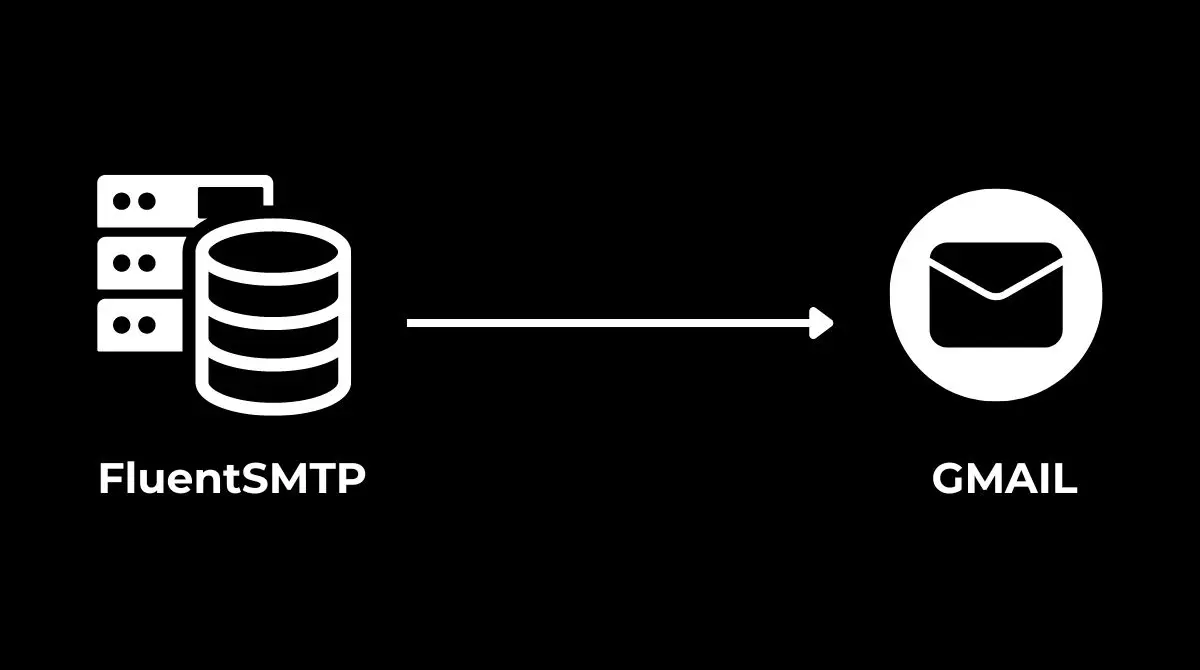
1. Step One: Setting >> FluentSMTP >> select Google Workspace

2. Step Two: You will have a few fields that you have to fill in.
For the first two fields on “Sender Setting”, you have to add the ‘Email’ on the “Form Email” field and then your ‘name or business name’ on the “Form Name” field.
And for other details, we have to use Google Cloud.

3. Step Three: From your browser open this URL – https://cloud.google.com/
Then ensure you have the correct Google account from the top right corner.
After that click on “Console”

4. Step Four: After that, ensure it is the correct Google Account again. Then you may have a pop-up for Terms and Services, Agree, and Continue.
Then click on “Select a project”

5. Step Five: Click on “New Project”

6. Step Six: Give your Project a name. (I named it FluentForms)
Then click on “Create”
It can take a few sec or min to create the project. And then your project will be created.

7. Step Seven: Click on “Select Project” and select the newly created project.

8. Step Eight: Click on “APIs & Services”

9. Step Nine: Click on “Enable APIs & Services”

10. Step Ten: Now on the API Library Search box, search for “gmail” and hit enter.

Then select the first one “Gmail API“

After that, click on “Enable“
11. Step Eleven: Now, click on “Create Credentials”

12. Step Twelve: Click on “User Data” and then Next

13. Step Thirteen: Then fill out the second step,
Add app name, I added FluentForm.
Then select your email for “user support email”, and also use the same email for “Developer’s Contact Information”.

Done, you don’t have to add anything else here.
Click “Save and Continue”
14. Step Fourteen: You don’t have to add anything on “Scopes (optional)”. Click “Save and Continue”
15. Step Fifteen: Now the “step 4 – OAuth Client ID”. For the “Application Type” select “Web Applications”
Then scroll to “Authorized redirect URIs” and here you have to paste the following URL – https://fluentsmtp.com/gapi/

Then click on “Create”
16. Step Sixteen: Now you will have your Client ID. Copy and paste it into your Fluent Form “Application Client ID” section

You can also save it on your Notepad.
Then click on “Done”
17. Step Seventeen: Now from the left side click on “OAuth consent screen” and then click on “PUBLISH APP”
And “Confirm”

18. Step Eighteen: Now from the left side click on the “Credentials” section.
Then to “OAuth 2.0 Client IDs” and then click on the “pen icon” or “edit” of your client.

19. Step Nineteen: You will get your “Client Secret” just copy it and paste it into FluentSMTP’s “Application Client Secret” box.


20. Step Twenty: Now, click on “Authenticate with Google and Get Access Token”

A pop-up will open and you have to click on your correct Google account (make sure it is the same account).
It can show a warning but there is no problem, just click on “Advance” and click “Go to fluentsmtp.com [unsafe]”


Now give the access and continue.
21. Step Twenty-One: Now you’ll get an “Access Token”, copy and paste to your FluentSMTP’s Access Token field.

Now click on “Save Connection Settings”
If you have added everything correctly, it will get connected now. That’s it!